Lime mortar has been a cornerstone of masonry construction for centuries, known for its breathability, flexibility, and durability. If you're undertaking a brick repointing project, especially on a historic structure, using lime mortar is often the most appropriate and historically sensitive choice. This guide will walk you through the process:
1. Preparation is Key
- Joint Clearing: Begin by removing the old, deteriorated mortar. Use a hammer and chisel (such as a plugging chisel), an angle grinder with a diamond blade (for hard Portland-based mortar), or a rotary tool with a grout removal bit. Aim to remove at least ¾" to 1" of the old mortar, ensuring a clean surface for the new lime mortar to bond to. Be certain to remove mortar only without damaging the bricks.
- Cleaning the Joints: Once the joints are cleared, thoroughly clean out any dust and debris using a brush or a vacuum with a brush attachment. This ensures optimal adhesion of the new mortar.
2. Dampen the Bricks
Before applying the lime mortar, thoroughly dampen the brickwork with a hose or garden pump sprayer. This prevents the bricks from drawing moisture out of the mortar too quickly, allowing for proper curing.
3. Mixing the Lime Mortar
Lime mortar is typically a mix of specialty lime/putty, sand, and water. You can purchase pre-mixed lime mortar or mix your own. Follow the manufacturer's instructions carefully to achieve the correct consistency. The mortar should be workable but not too wet.
4. Applying the Mortar
- The Tools: You'll need a hawk (a flat plate with a handle for holding mortar), a pointing trowel or slicker (for applying the mortar), and a jointer, slicker, or wooden dowel for finishing the joints.
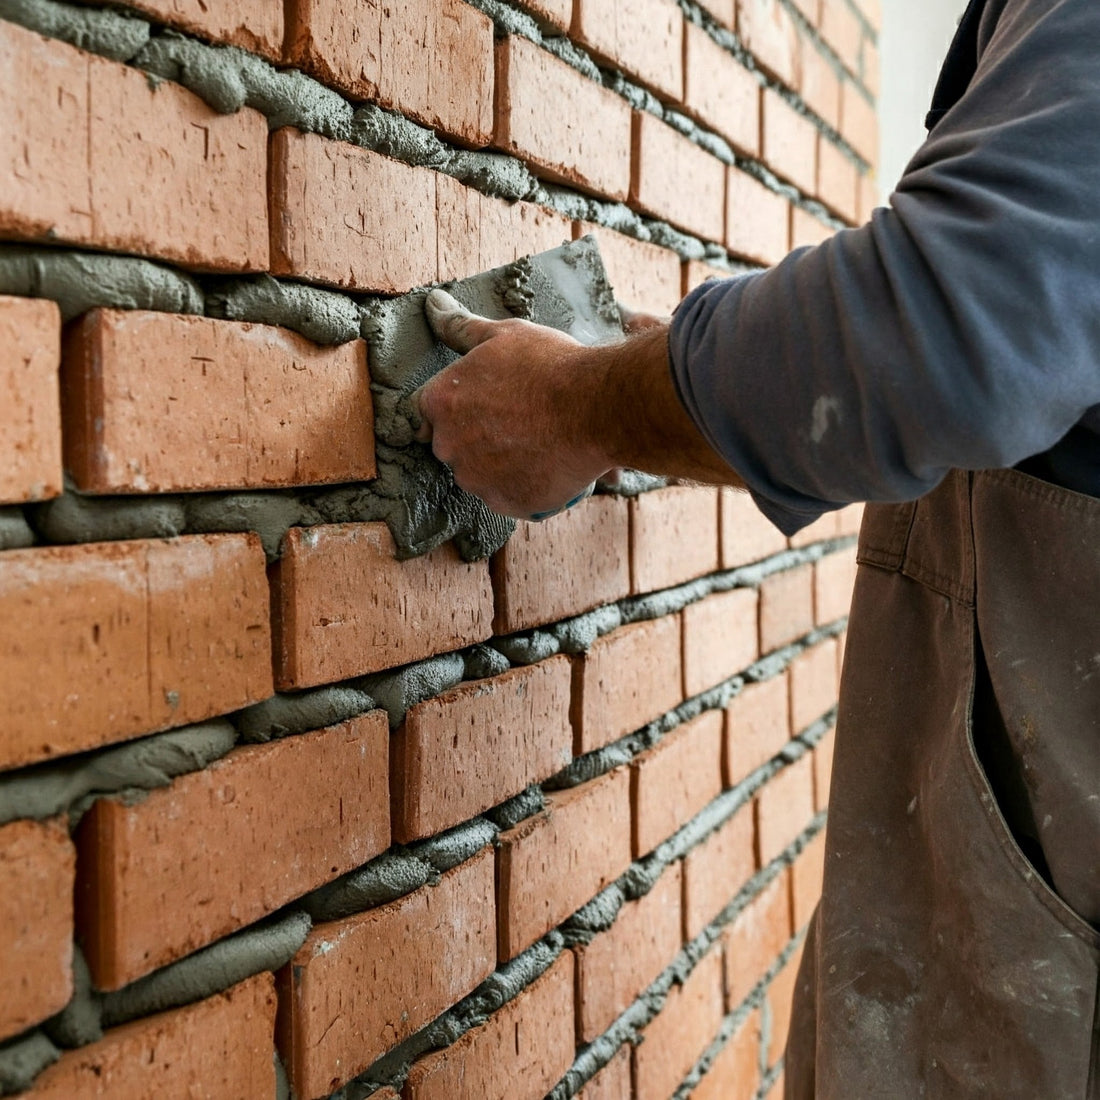
- The Technique: Place a manageable amount of mortar on your hawk. Using your trowel or slicker, carefully press the mortar into the joints, ensuring it is fully packed and flush with the brick face.
5. Finishing the Joints
Once the mortar is in place, use a jointer, slicker, or wooden dowel to tool the joints.5 This compacts the mortar and creates the desired aesthetic finish.
- Jointer: Creates a concave or V-shaped joint.
- Slicker: Produces a smooth, flush joint.
- Wooden Dowel: Especially effective for achieving a historic or rustic look, often with a slightly recessed, textured finish. Experiment with different dowel sizes to achieve the desired effect.
6. Cleaning Up
After the mortar has initially set (this time will vary depending on the type of lime mortar and the weather conditions), it's time to clean up any excess mortar on the brick face.
- ProMason Brick Cleaner: Use a mild acidic cleaner like ProMason Brick Cleaner, diluted according to the instructions. This helps to remove any residual mortar stains without damaging the brick.
- Gentle Scrubbing: Apply the cleaner with a stiff natural bristle brush or a plastic bristle brush, gently scrubbing the brick surface.
- Rinse Thoroughly: Rinse the brickwork thoroughly with clean water to remove all traces of the cleaner.
Pro Tip: When repointing with lime mortar, it's essential to work in manageable sections, especially in hot or windy weather, to prevent the mortar from drying out too quickly.
By following these steps and using high-quality materials like ProMason Brick Cleaner, you can ensure a successful and long-lasting brick repointing project that preserves the beauty and integrity of your masonry.

