From Drab Slab to Dream Patio
Take a look outside. Is your concrete patio living up to its full potential? For many, that outdoor space is a vast sea of blah gray—a functional afterthought rather than a welcoming retreat. It's the forgotten slab where weeds triumph in the cracks and furniture looks a little lost. This underutilized space feels like a missed opportunity for outdoor living, a problem many homeowners face when dreaming of a perfect backyard oasis.
But what if you could transform that entire space with just a weekend of work and a can of paint? Paint is a transformative hero, a budget-friendly tool that can turn a dull patio into a stylish and functional extension of your home.
We get it, though. The thought of painting your patio can be intimidating. You’ve heard the horror stories or maybe even lived them: paint that bubbles and peels after the first big rain, colors that fade to a chalky mess under the summer sun, or a finish that gets slick and slimy when wet. The last thing you want is for your hard work to become a maintenance nightmare, putting your project failure on display for the whole neighborhood.
In this guide, we'll walk you through five stunning, achievable patio paint ideas. But more importantly, we'll show you how to make sure your beautiful new look actually lasts, turning that drab slab into the durable, dream patio you deserve.
The Pro's Secret: It's All About the Paint
So, what's the secret to a painted patio that withstands scorching sun, summer rain, and countless footsteps? The answer isn't just in the technique—it's in the can. Most patio paint jobs fail for a few common reasons: the paint has poor adhesion to the concrete, it lacks the flexibility to expand and contract with temperature changes, and it simply can't stand up to the relentless assault of UV radiation.
This is where modern paint technology makes all the difference. Forget the weak latex paints of the past or the messy, intimidating two-part epoxy kits that come with a high risk of failure for the average DIYer. The key to a successful, long-lasting DIY project is a next-generation coating like Pro Mason's Advanced Polyurethane Hybrid Concrete Paint. It was engineered from the ground up to solve the exact problems that cause other paints to fail.
Before you pick your pattern, understand why the right product is your most important tool:
-
Engineered for the Outdoors: A patio is one of the most punishing environments for paint. Pro Mason's formula has superior UV resistance built-in, which means the color you apply is the color that stays. It’s designed to prevent the fading and chalking that makes other painted patios look old before their time.
-
Bonds Like a Pro: The "Super-Durable" Advanced Polyurethane Hybrid formula creates a tenacious bond with concrete. It flexes with the surface through hot and cold cycles and is tough enough to resist peeling, scuffing, and even hot tire pickup on a driveway—a testament to its extreme durability.
-
DIY-Friendly Simplicity: Many projects fail before a brush is even dipped because of improper prep. Pro Mason's "Professional Self-Priming" feature simplifies this critical stage, creating a perfect, uniform canvas for your design and eliminating a common point of failure. This single-component formula means no stressful mixing or racing against the clock, directly countering the "Preparation Anxiety" many DIYers feel.
Choosing the right paint isn't just a recommendation; it's the foundation upon which your entire project's success is built.
Your Patio Project Supply Checklist
A great project starts with great organization. Use this checklist to gather everything you need to make your patio transformation feel manageable and professional. A checklist breaks down a daunting project into manageable components, adding immediate practical value and making the project feel achievable.
|
Project Essentials |
For Design Work |
Safety & Cleanup |
|
The Right Paint: Pro Mason Advanced Polyurethane Hybrid Concrete Paint |
Precision Lines: High-Quality Painter's Tape |
Protection: Gloves, Safety Glasses |
|
Surface Prep: Concrete Cleaner/Degreaser, Stiff Bristle Broom or Power Washer |
Patterns: Reusable Stencil(s), Stencil Brush or Small Foam Roller |
Finishing Touch: Concrete Sealer (optional but recommended for maximum durability) |
|
Repair: Concrete Crack Filler |
Measurement: Measuring Tape, Chalk Line (for grids) |
|
|
Application: Paint Tray, Paint Roller with Extension Pole (textured surface nap), Angled Paintbrush |
Idea 1: The High-Impact Stencil

Why It's a Winner: Do you love the look of expensive, handcrafted cement tiles but not the hefty price tag or difficult installation? Stenciling is your secret weapon. It’s an affordable way to add a dose of beauty and a "wow" factor to your floor, transforming a plain surface into a work of art that looks like a custom-tiled masterpiece.
Mini-Tutorial
-
Prep is King: Your stenciled design is only as good as the surface beneath it. Start with a perfectly clean, dry, and repaired concrete surface. A power washer is your best tool for removing all dirt and grime.
-
Base Coat: Apply one to two coats of your base color using a roller. A neutral like a light gray or a crisp white provides the perfect canvas to make your stencil pattern pop.
-
Position Your First Stencil: The first placement sets the tone for the whole project. Start in the most visible area, like the center of the patio or along the straightest edge (like an expansion joint). Use painter's tape to secure the stencil firmly in place.
-
Master the 'Offload' Technique: This is the professional secret to preventing messy, bleeding lines. Dip your stencil brush or small foam roller into your accent color, then dab or roll most of it off onto a paper towel. The applicator should feel almost dry to the touch. This simple step is the most critical for achieving sharp, clean lines.
-
Apply and Repeat: Use a gentle dabbing or stippling motion to apply the paint over the stencil. Don't press too hard. Once the area is covered, carefully peel the stencil straight up. Reposition it using the built-in registration marks, which ensure the pattern aligns perfectly every time, and repeat the process.
Pro Mason Pro-Tip: Feeling nervous about tackling a detailed pattern? This is where Pro Mason's self-priming formula is your best friend. It creates a perfectly uniform, receptive surface, giving you the best possible canvas for sharp, clean stencil lines without the worry of an uneven base coat sabotaging your work.
Idea 2: The Modern Geometric Design

Why It's a Winner: For a look that's clean, contemporary, and completely custom, all you need is a roll of tape and a little imagination. Geometric patterns can make a space feel dynamic and sophisticated and are surprisingly simple to create with precision taping.
Mini-Tutorial
-
Clean and Base Coat: As always, a pristine, painted base is your starting point. Allow your base color to fully cure before applying any tape.
-
Plan Your Grid: This is where a little math upfront pays off in a big way. Use a measuring tape and a chalk line to snap a foundational grid onto your patio. This ensures your pattern is straight and proportional across the entire space.
-
Tape Your Pattern: Carefully lay down high-quality painter's tape to create your desired shapes—triangles, diamonds, or chevrons. Press the edges down firmly with your finger or a credit card to create a tight seal and prevent paint from seeping underneath.
-
Seal the Tape (The Pro-Technique): For ultra-crisp, bleed-free lines, use this game-changing trick. Before you paint your accent color, paint over the inside edge of the tape with your base color. This seals the edge of the tape, so if any paint does bleed through, it's the same color as the background and will be completely invisible.
-
Paint and Peel: Once the clear seal coat is dry, fill in your shapes with your accent color(s). For the cleanest reveal, carefully pull off the painter's tape while the accent paint is still slightly tacky, pulling it away from the painted line at a 45-degree angle.
Pro Mason Pro-Tip: A bold geometric design is all about color that pops and lasts. The advanced Polyurethane Hybrid formula in Pro Mason paint offers exceptional color retention and UV resistance, ensuring your vibrant, modern masterpiece doesn't fade into a dull, chalky mess after one season in the sun.
Idea 3: The Defined Outdoor Rug

Why It's a Winner: Anchor your outdoor living space and make it feel intentional and cozy with a painted-on rug. You get all the style and definition of a real rug with none of the real-world worries about mold, mildew, fading, or dry rot from the blazing sun—a common and frustrating issue with fabric outdoor rugs.
Mini-Tutorial
-
Map it Out: Arrange your patio furniture exactly where you want it to live. This allows you to determine the perfect size and placement for your rug. Use painter's tape to mark the outer perimeter of your desired rug shape.
-
Create the Border: Once you have your main outline, tape off a crisp border inside the perimeter. Use the "seal the tape" trick mentioned in the geometric design tutorial for perfectly sharp lines. Paint the border with your chosen accent color.
-
Paint the Field: After the border is dry, tape over it to protect it, and then paint the main "field" of your rug with its base color.
-
Add the Pattern: This is where you can get creative. Once the field is dry, use a stencil to add a pattern to the inside of your rug. For a large area, it's best to find the center point and work your way out to ensure the design is symmetrical.
Pro Mason Pro-Tip: A project like this means spending quality time on your patio, getting up close and personal with your paint. You'll appreciate Pro Mason's Zero VOC, low-odor formula, which makes the whole application experience more pleasant and comfortable for you and your family, without the harsh chemical fumes associated with other high-performance paints.
Idea 4: The Classic Checkerboard or Stripe

Why It's a Winner: You can't go wrong with a classic. A checkerboard pattern adds a touch of timeless elegance and formality, while bold, wide stripes can make a narrow patio feel wider and more expansive. Both are high-impact looks that are relatively easy to execute with just painter's tape and two contrasting colors.
Mini-Tutorial (Checkerboard)
-
Grid It: Apply your lighter base color over the entire patio and let it cure completely. Then, use a chalk line to snap a perfect grid of squares. Common sizes are 18x18 inches or 24x24 inches, but you can customize it to your space.
-
Tape Off: This is the most meticulous part. Carefully apply painter's tape to the outside edges of every other square.
-
Paint: Using a brush or small roller, fill in the taped-off squares with your darker color. Apply two coats for a rich, solid, and opaque finish. Remove the tape while the paint is still slightly tacky for the best results.
Pro Mason Pro-Tip: High-traffic patterns like checkerboards and stripes demand a tough finish that can handle daily life. Pro Mason's super-durable polyurethane hybrid coating is engineered to resist scuffs, scratches, and peeling, so your beautiful pattern won't be ruined by dragging chairs, running kids, or playful pets.
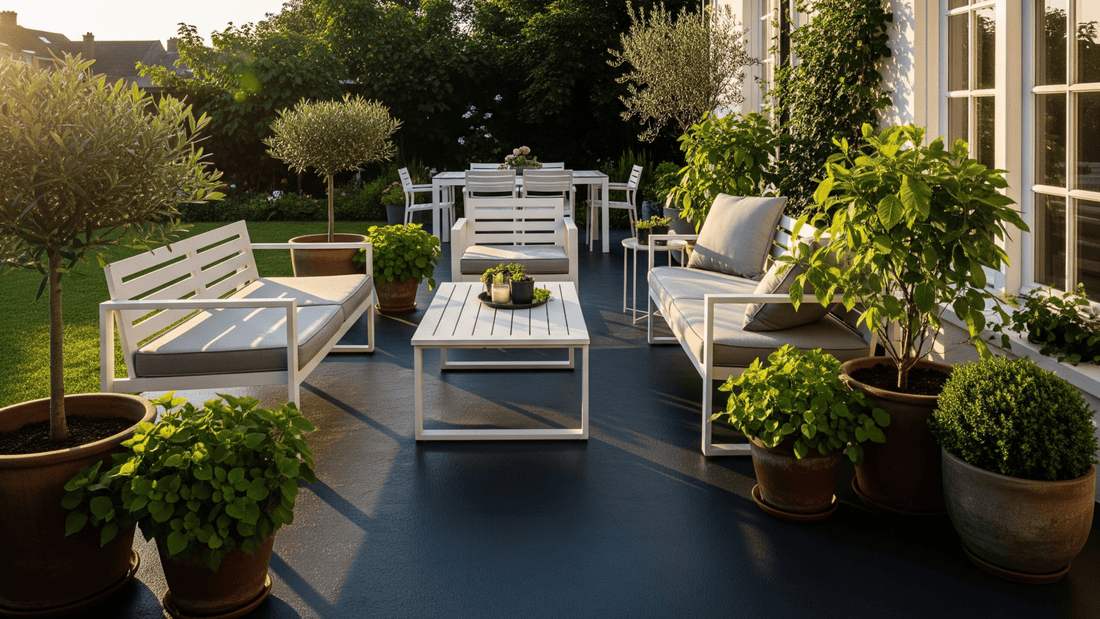
Idea 5: The Bold Monochromatic Statement

Why It's a Winner: Sometimes, the most powerful statement is the simplest one. A single, bold color can instantly modernize your patio, creating a sophisticated and dramatic backdrop that makes your furniture, planters, and landscaping pop with incredible vibrancy. This is the fastest way to achieve a total transformation with maximum impact.
Mini-Tutorial
-
The Ultimate Prep: With a solid color, a flawless surface is key, as every imperfection can show. Be meticulous about cleaning the concrete and filling any cracks or pits for a smooth, uniform starting point.
-
Cut In: Using an angled brush, carefully paint the entire perimeter of the patio and around any fixed obstacles like posts or railings. This ensures you have clean edges.
-
Roll It On: Use a paint roller with an extension pole to apply the paint to the main area. Work in smooth, overlapping sections to avoid lap marks. Apply a second coat after the first has dried to achieve a deep, uniform, and luxurious finish.
Pro Mason Pro-Tip: Dark colors are notoriously prone to absorbing heat and fading in direct sunlight. This is a non-issue with Pro Mason Concrete Paint. Its built-in, robust UV resistance is specifically formulated to protect the pigments from sun damage, ensuring your deep charcoal gray stays a deep charcoal gray, not a chalky, washed-out version of itself. This is durability you can see season after season.
Your Next Step
Your concrete patio doesn't have to be an afterthought. As you can see, with the right paint and a little creativity, it can become the stylish heart of your outdoor home. From an intricate stencil to a bold solid color, the possibilities are endless. The key is choosing a paint that's engineered for the job—one that's easy to use, looks fantastic, and is tough enough to last.